
Let's assume you managed to buy your first VPS or dedicated server and using your provider control interface, you managed to install Ubuntu as operating system. Before actually starting to play with it, I encourage you to spent a few minutes in order to secure your server by disabling SSH password authentication and rely only on SSH Key-Based authentication.
First of all, why should we disable (user, password) authentication?
Once your VPS or dedicated server is created, you will have to setup a password for your root user. I assume you already know what is the role of root user in a Linux ecosystem. If someone has root access to your server, basically he can do whatever he knows with it. Why is dangerous to rely on a user and password method to authenticate to your server? The answer is quite simple: with a brute-force attack, a person who wants to hack your server, can discover you password and obtain illegal access to your server. Depending on password complexity that you have, the time needed to perform this attack can vary from a couple of minutes to a couple of days or maybe years. It also depends on the hardware power exposed by the attacker.
This is why, I encourage you to disable SSH password authentication and to replace it with another method base on SSH Key-Based authentication.
What is SSH Key-Based authentication and why is better than previous one?
When you connect to your server, your are using SSH as protocol to connect under the hood. SSH protocol supports many authentication methods. One of the most secure one is Key-Based authentication or public key authentication. It provides cryptographic strength that even extremely long passwords can not offer. With SSH, public key authentication improves security considerably as it frees the users from remembering complicated passwords.
As with any encryption scheme, public key authentication is based on an algorithm. The most common ones are RSA and DSA. Unlike the commonly known (symmetric or secret-key) encryption algorithms the public key encryption algorithms work with two separate keys: a private and a public key.
How to generate a pair of keys?
For this operation, you can use puttygen tool, if you are using Windows as daily operation system. The interface is similar with this:
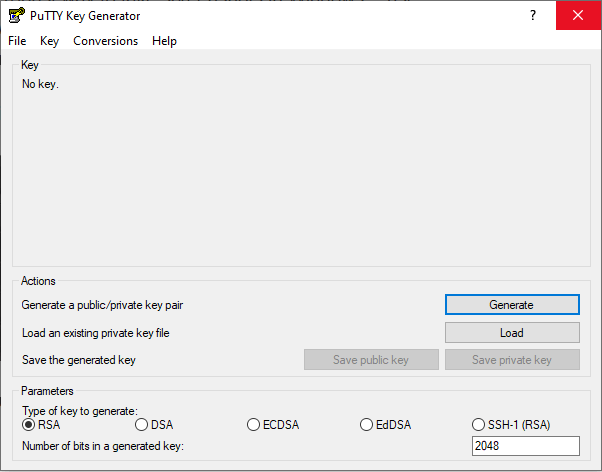
In order to generate a new set of keys (public + private), you have to:
- Click on
Generatebutton. - Play with your mouse to introduce random data in your key generate. Do this operation until progress bar reaches 100%.
- Once the key is generated, you can put a comment and a passphrase to it. Both of them are optional.
- Next step is to click on
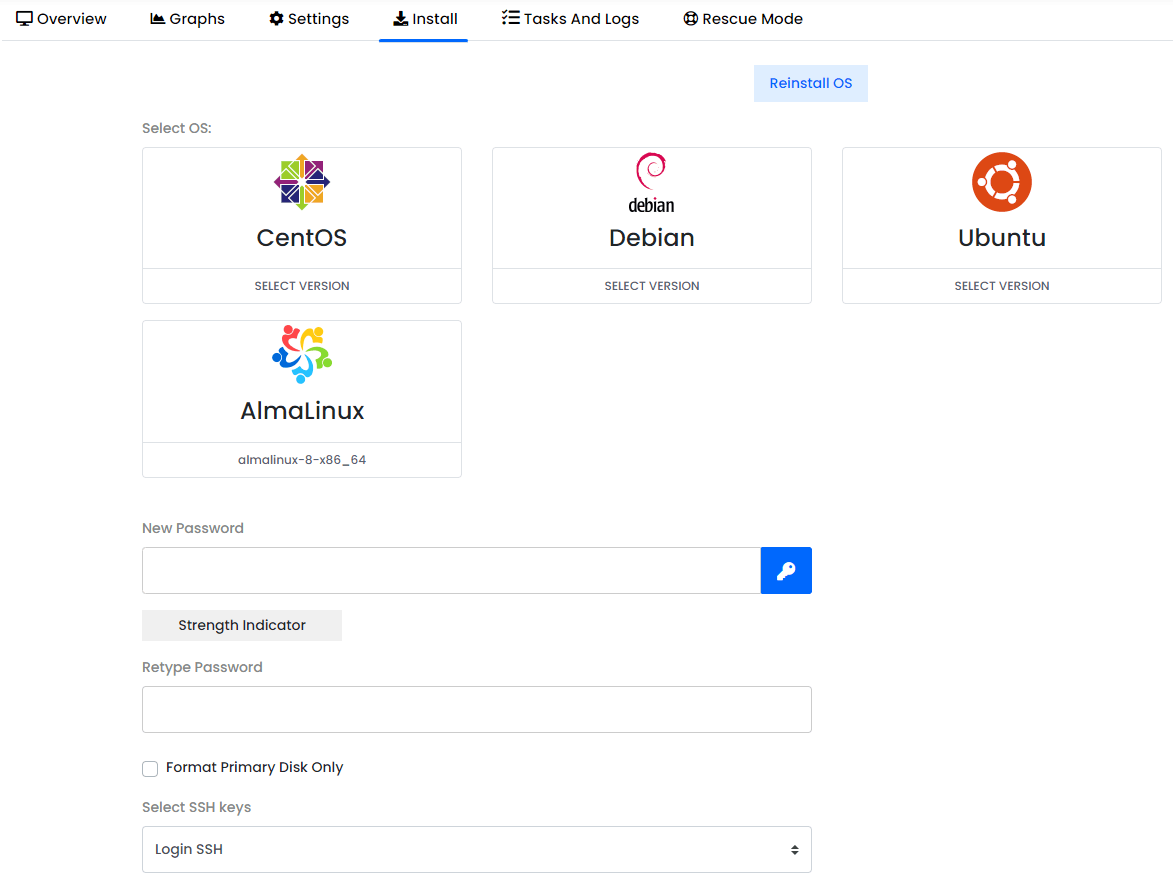
Save public keyandSave private keyto save both keys on disk. Private key, as the name suggests, should be kept only for you. - Take public key and upload it to your VPS control panel given by hosting provider. Upload your public key in
SSH Keyssection (as you can see below).

The most easiest way to add this key to your server, is to go to reinstall OS page (from your control panel) and to reinstall your Ubuntu image by choosing also one of the key as SSH keys. As you can image, this operation will reinstall completely your operation system, so, you are going to loose all your data from the server. This is the reason why is recommended, to perform this operation immediately after buying your VPS / dedicated server.
This is how it looks on my side:
At this moment, we can use a tool like putty to connect to our server and we will see that both methods are working. The one based on password authentication + the one based on SSH keys. This is quite bad for us, because as we said, we will like to disable password authentication. In order to do this final operation, we will have to connect to our server using a tool like putty. Once you connected, there are some commands that we need to operate:
- Open and edit file:
/etc/ssh/sshd_configusing your root account. - Search for a line starting with
PasswordAuthenticationand change property value fromyestono. - Save file changes.
- Restart SSH service for apply your changes:
systemctl restart ssh.
This is all! Happy coding!


Comments